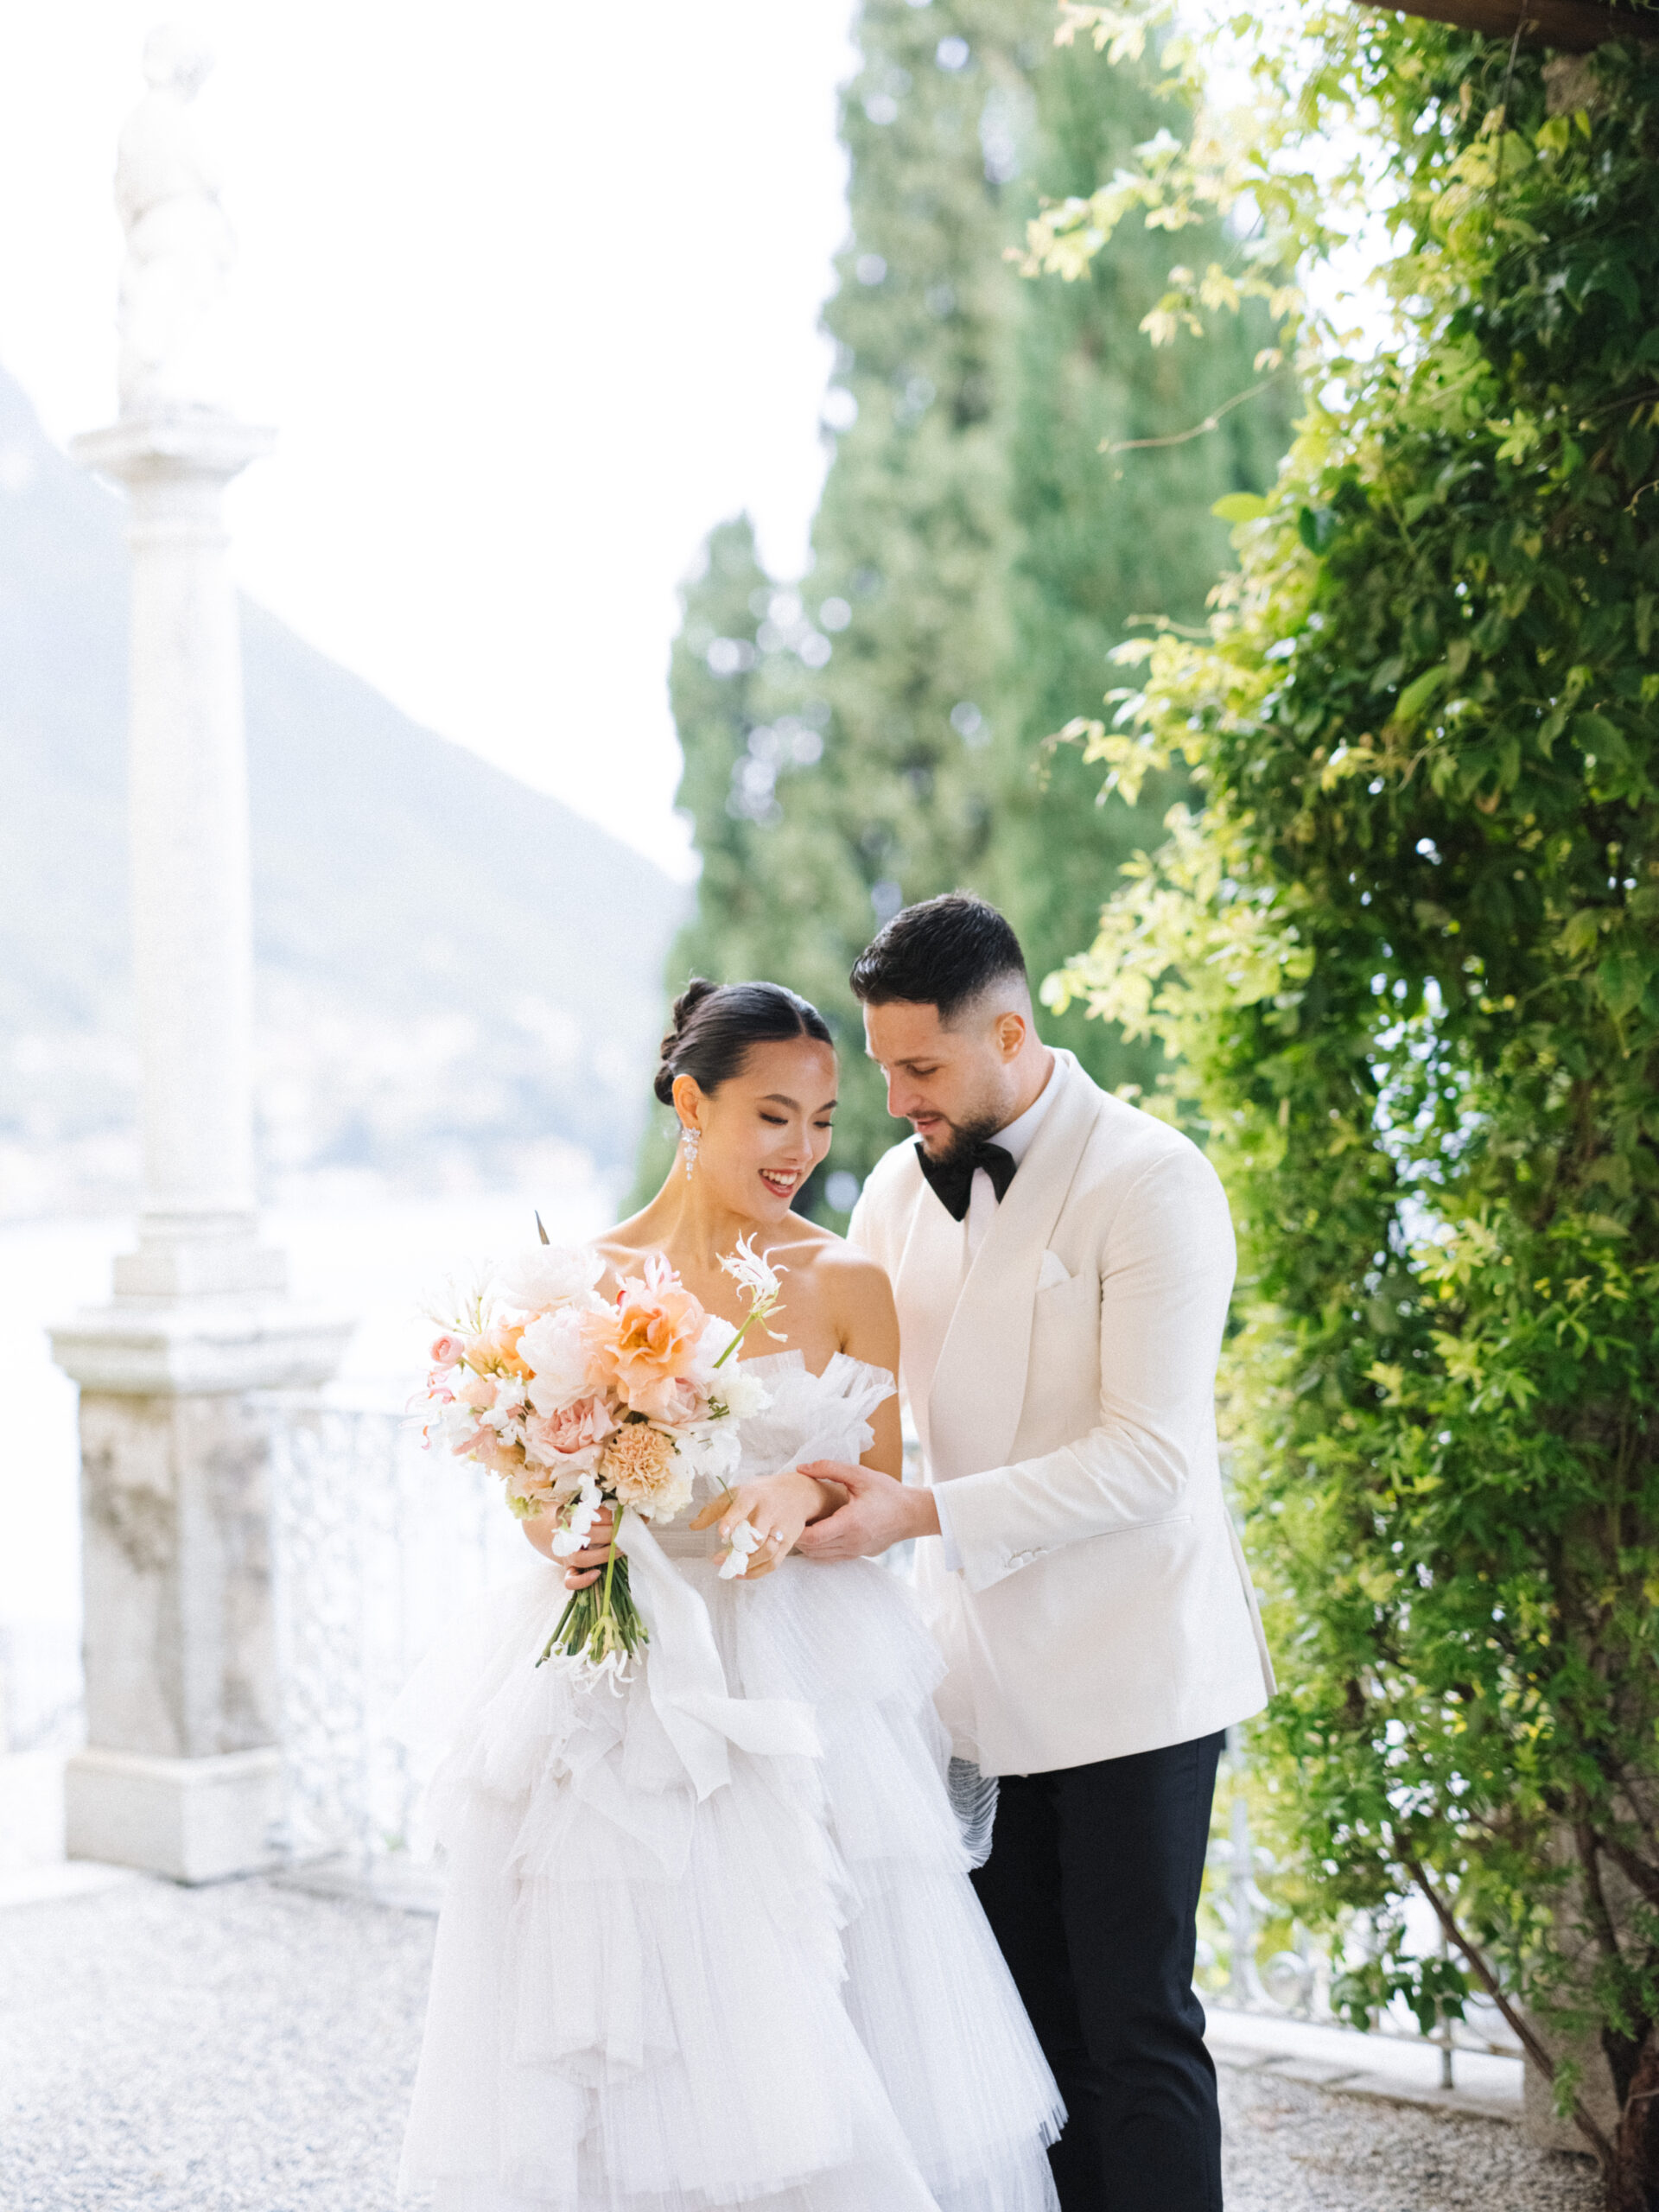
Mastering the Art of Photography with Unique Presets
Mastering the Art of Photography with Unique Presets
In the dynamic world of photography, efficiency and consistency are as crucial as the creative eye behind the lens. One of the best tools a photographer can harness to achieve this is through the use of presets, especially in popular photo editing software like Adobe Lightroom and Photoshop.
Presets not only expedite the editing process but also help photographers maintain a unique style and ensure a harmonious aesthetic across their work. In this guide, we would like to explore how to create and effectively use presets for photo editing, helping you transform your workflow and enhance your photographic artistry.
Why Presets Are a Game-Changer for Photographers?
For professionals and hobbyists alike, presets serve as an invaluable asset. They provide a way to apply a consistent look and feel to your images, which is essential for photographers looking to establish a recognizable brand. By standardising colour, contrast, and exposure adjustments, presets allow you to maintain a cohesive aesthetic in your portfolio, which is often the first step towards attracting more clients and building a loyal audience.
Moreover, presets significantly speed up the editing process. Instead of manually adjusting settings for each photo, presets let you apply a set of pre-defined edits across multiple images with just a few clicks. This efficiency is particularly beneficial for wedding and event photographers who deal with hundreds of images from a single shoot.
Crafting Your Own Presets in Adobe Lightroom and Photoshop
Creating your own presets isn’t just about saving time; it’s about embedding your personal artistic touch into your work effortlessly. Here’s how you can create and fully integrate presets in Adobe Lightroom and Photoshop.
Crafting Your Own Presets in Adobe Lightroom and Photoshop
Creating your own presets isn’t just about saving time; it’s about embedding your personal artistic touch into your work effortlessly. Here’s how you can create and fully integrate presets in Adobe Lightroom and Photoshop.
Adobe Lightroom:
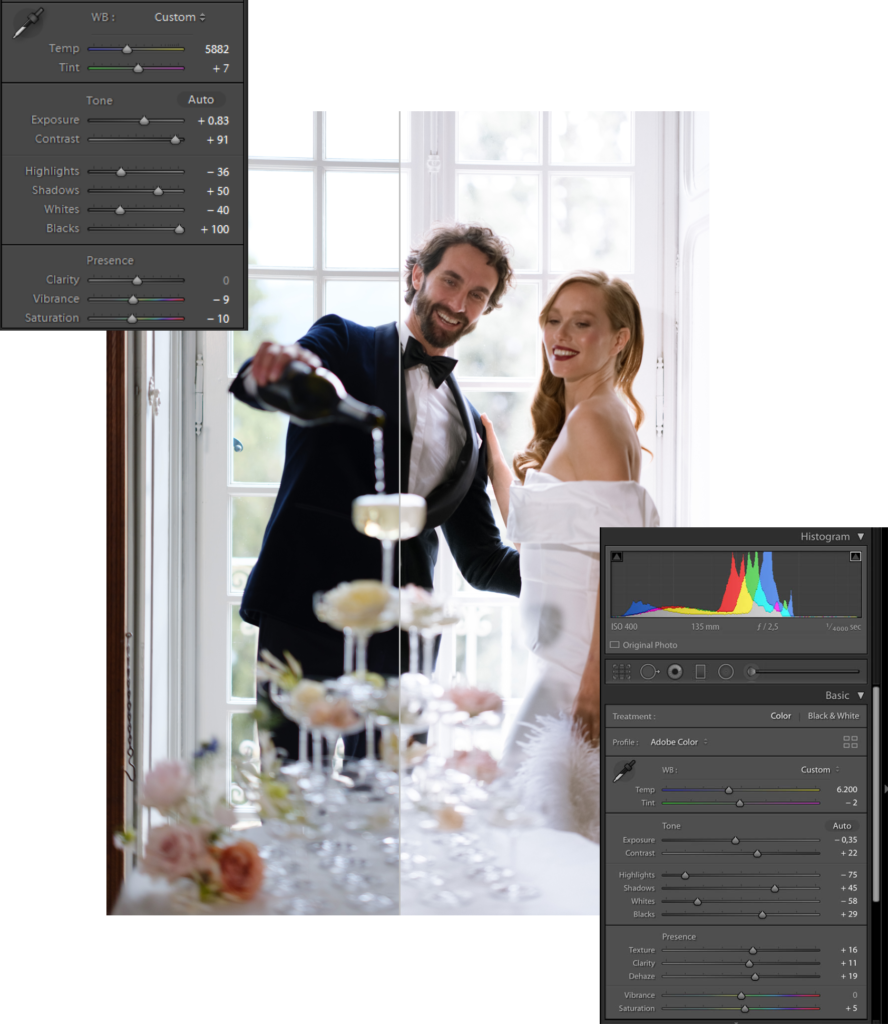
1. Start with an Image: Begin by editing a photo in Lightroom to your desired style.
2. Adjust Settings: Modify the exposure, contrast, colour saturation, and more according to your creative vision.
3. Create the Preset: Once you’re satisfied with the adjustments, go to the Presets panel, click the plus icon, and select ‘Create Preset.’ Name your preset and select which settings to include.
4. Save and Apply: Save your preset. You can now apply this preset to any other photo in Lightroom with one click, adjusting further if necessary.

Adobe Photoshop:
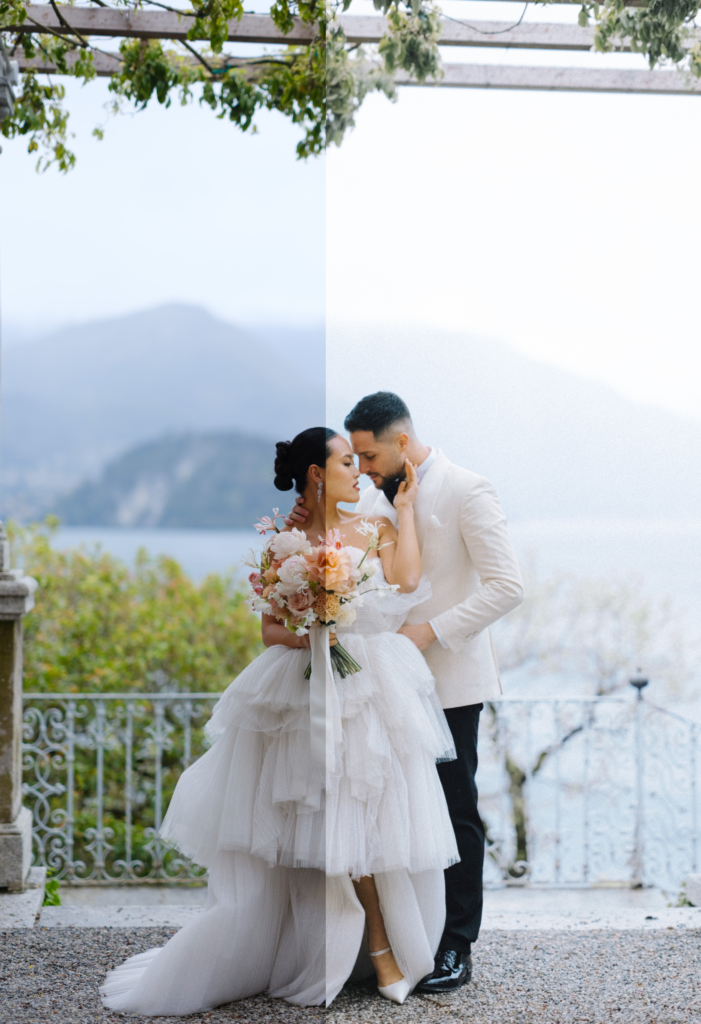
1. Layer Adjustments: Open your image and make adjustments using layers such as Levels, Curves, and Color Balance.
2. Create an Action: Go to the Actions panel, start a new action, and record the adjustments you make.
3. Save the Action: Once finished, stop recording. Your action is now a preset that you can apply to other images.

Ensuring Universal Camera Raw File Compatibility
A key feature of effective presets is their compatibility with raw files from all major camera brands. Whether you’re shooting with a Fujifilm, Canon, Nikon, or Sony, a well-crafted preset can be applied universally. This is particularly important as raw files contain the most data from your camera sensor, providing you with the highest quality adjustments during post-processing.
Highlighting Naturally Tender Colours
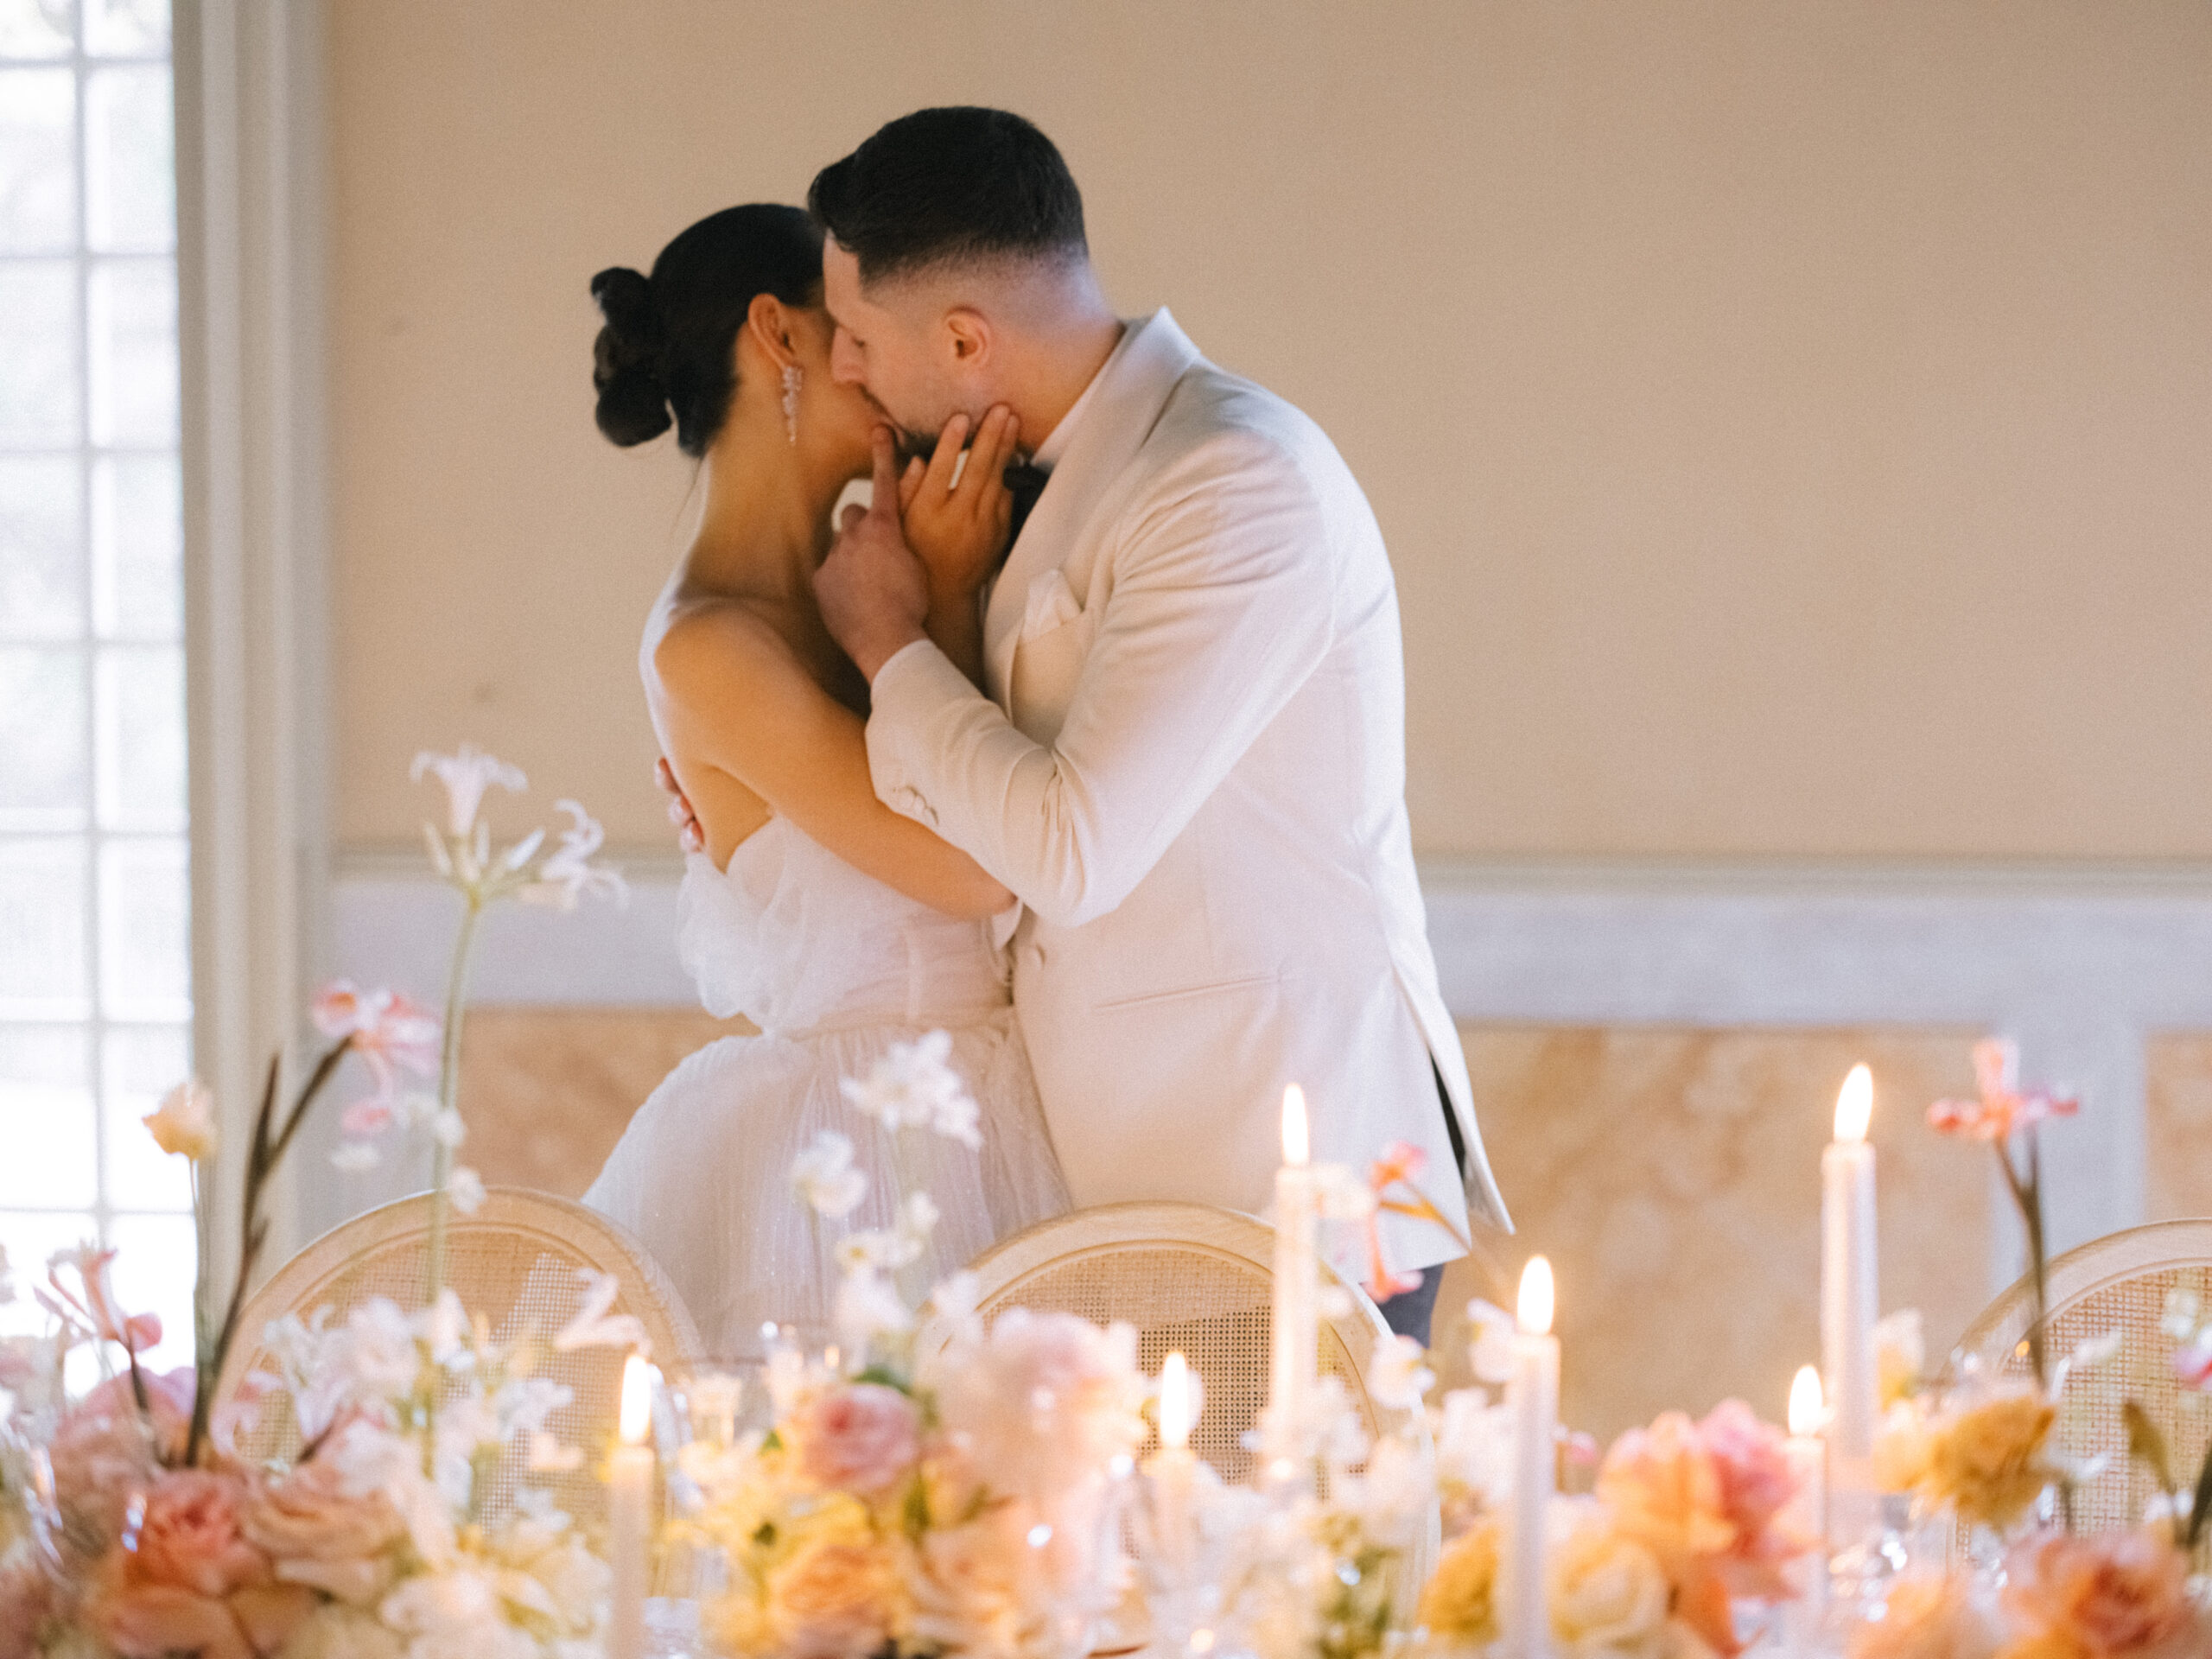
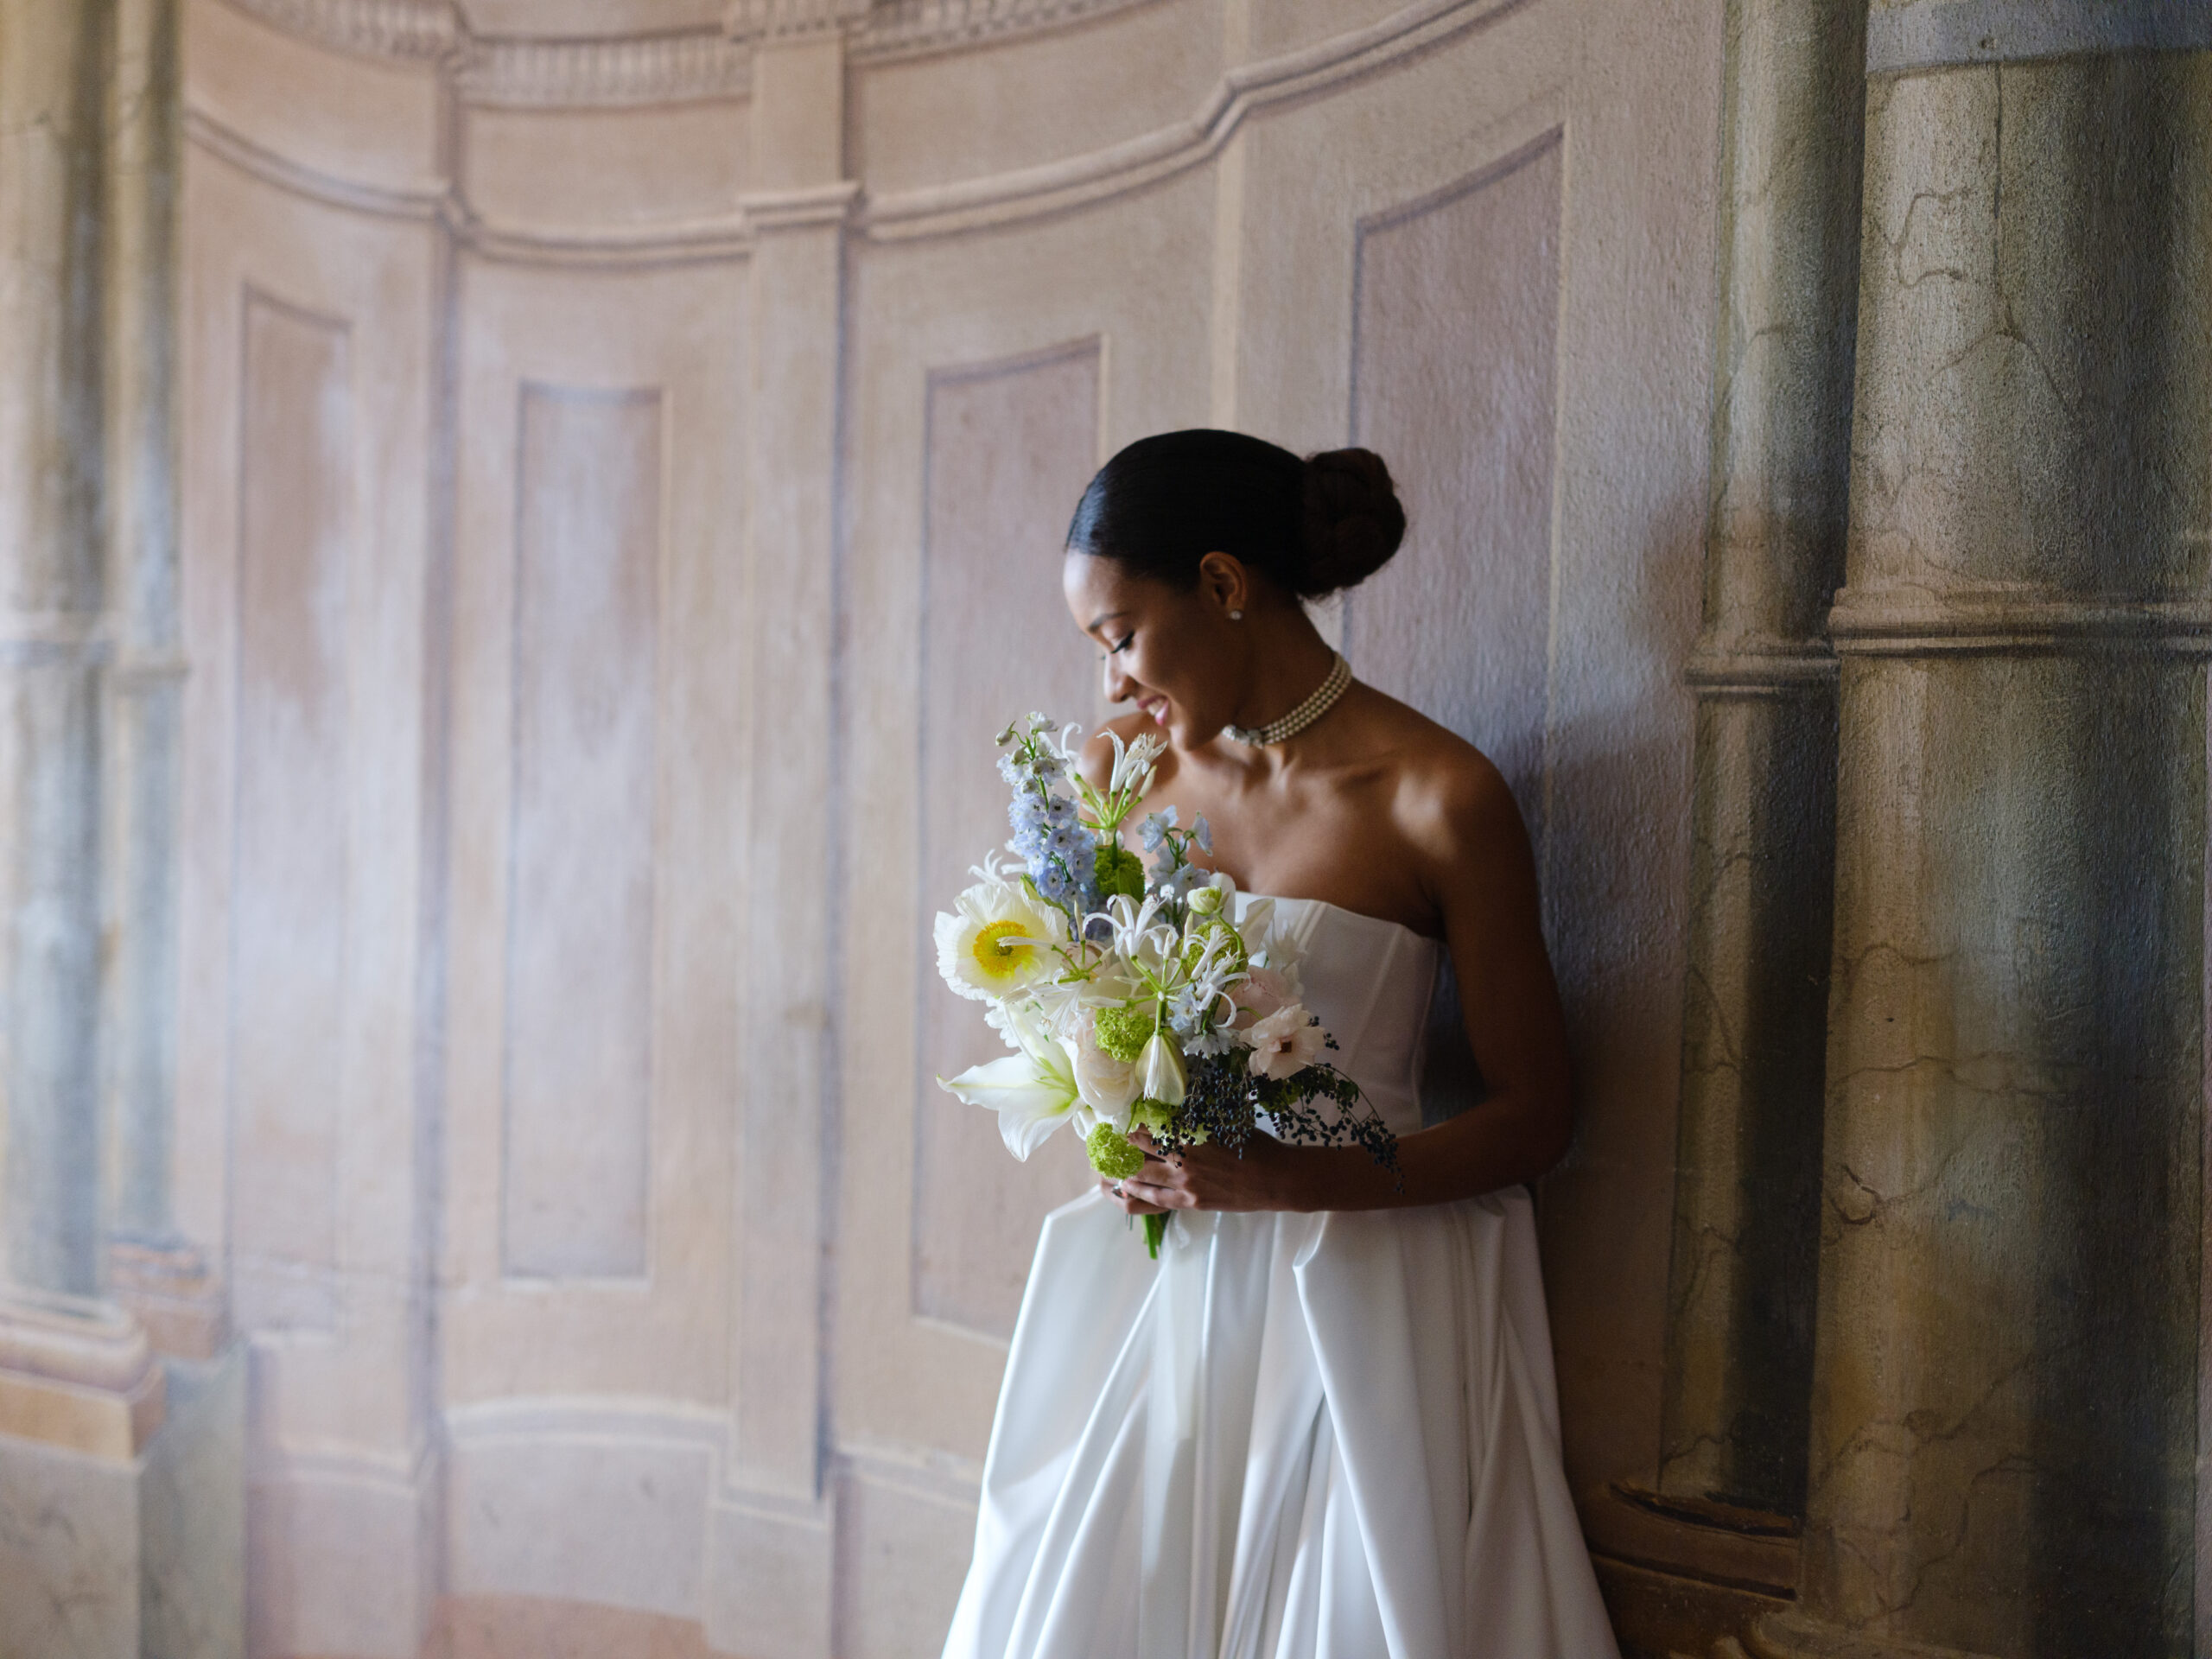
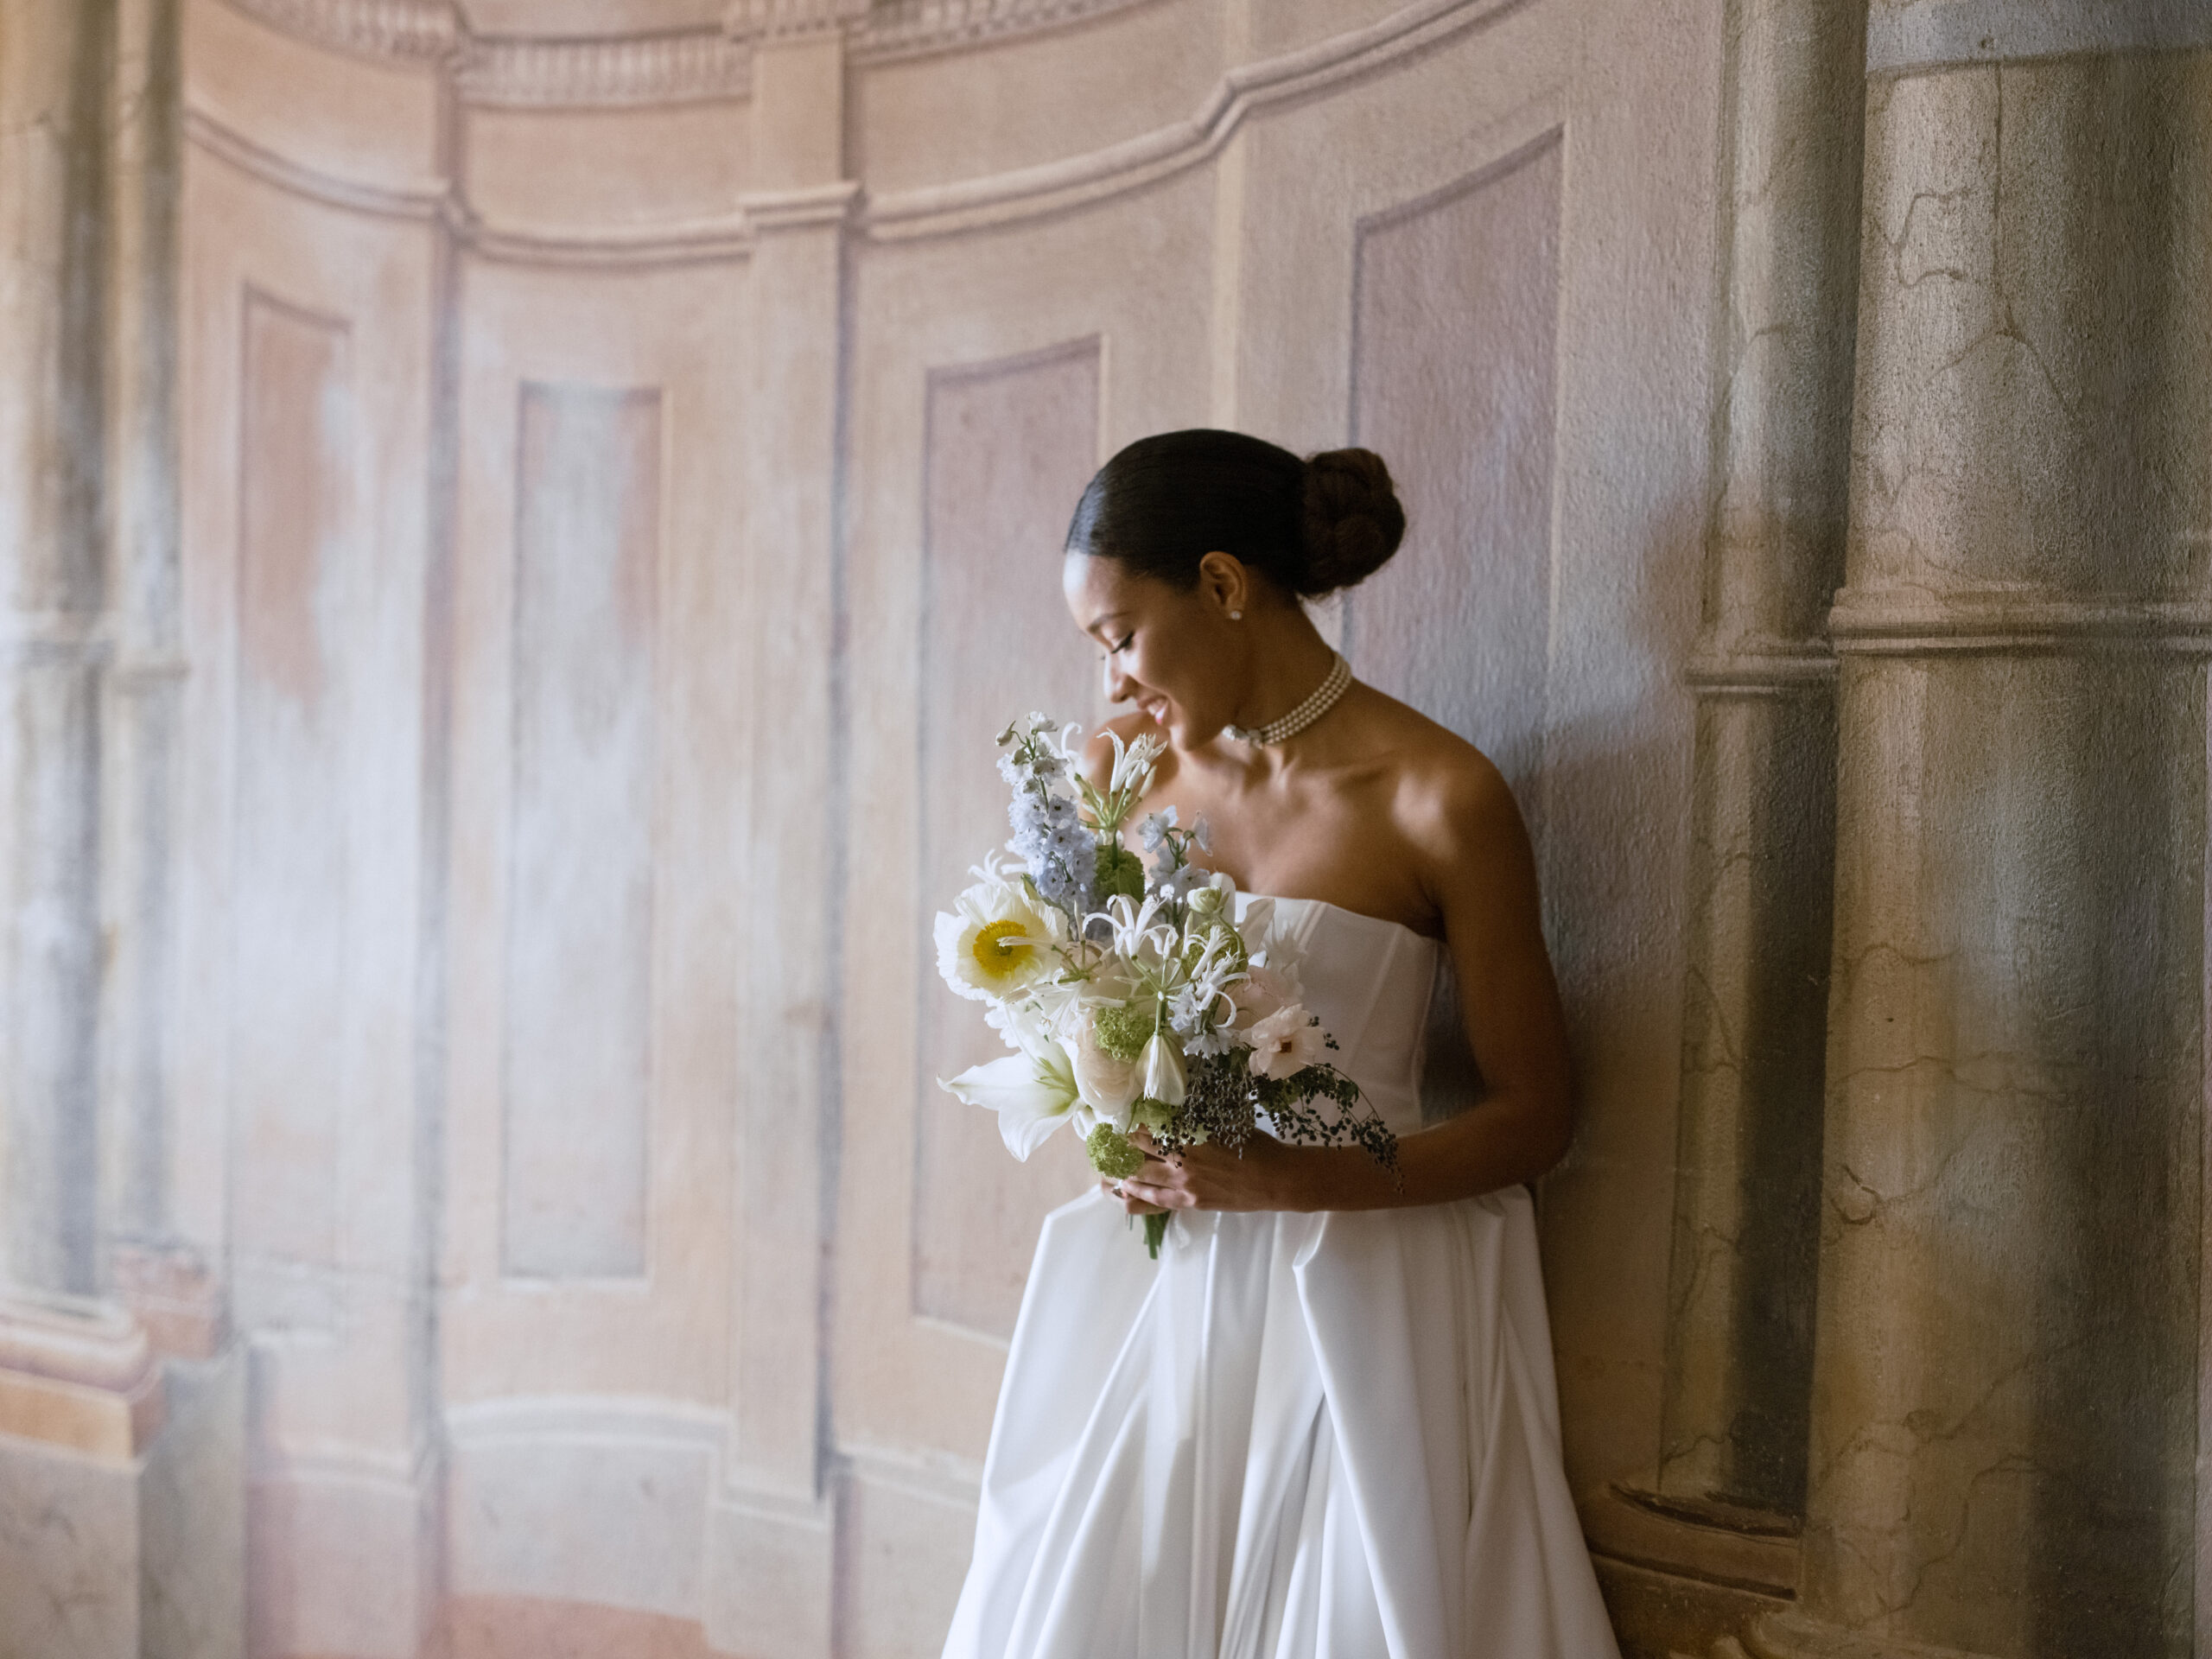
At Still Miracle Photography, we recommend that presets should not only expedite your workflow but should also enhance your images naturally. Our presets are specifically designed to highlight naturally tender colours, adding a subtle and delicate touch to the hues within each photo. These presets are crafted to enhance the natural beauty of your subjects without overpowering them, ideal for wedding photography, portraits, and landscapes where you want to convey real, raw emotions and beauty.

Ordering and Using Still Miracle Photography Presets
Our exclusive range of presets can be easily ordered through our website. Once downloaded, these presets can be imported into your Adobe Lightroom or Photoshop and applied directly to your photos, allowing for instant improvements with the same professional touch that has defined the Still Miracle brand.
Creating and using custom presets in your photo editing software is a powerful way to enhance your photographic workflow. Not only do they save time and help maintain consistency, but they also allow photographers to imprint their signature style across various projects seamlessly.
Whether you’re an amateur enthusiast or a seasoned professional, investing time in developing your presets can profoundly impact your photographic output.

By leveraging tools like Adobe Lightroom and Photoshop, understanding the importance of raw file compatibility, and focusing on naturally tender colour enhancements, you can take your photography to the next level. Remember, each preset you create captures a piece of your artistic vision, making every click not just a photo, but a reflection of your creative identity.
By leveraging tools like Adobe Lightroom and Photoshop, understanding the importance of raw file compatibility, and focusing on naturally tender colour enhancements, you can take your photography to the next level. Remember, each preset you create captures a piece of your artistic vision, making every click not just a photo, but a reflection of your creative identity.


